All,
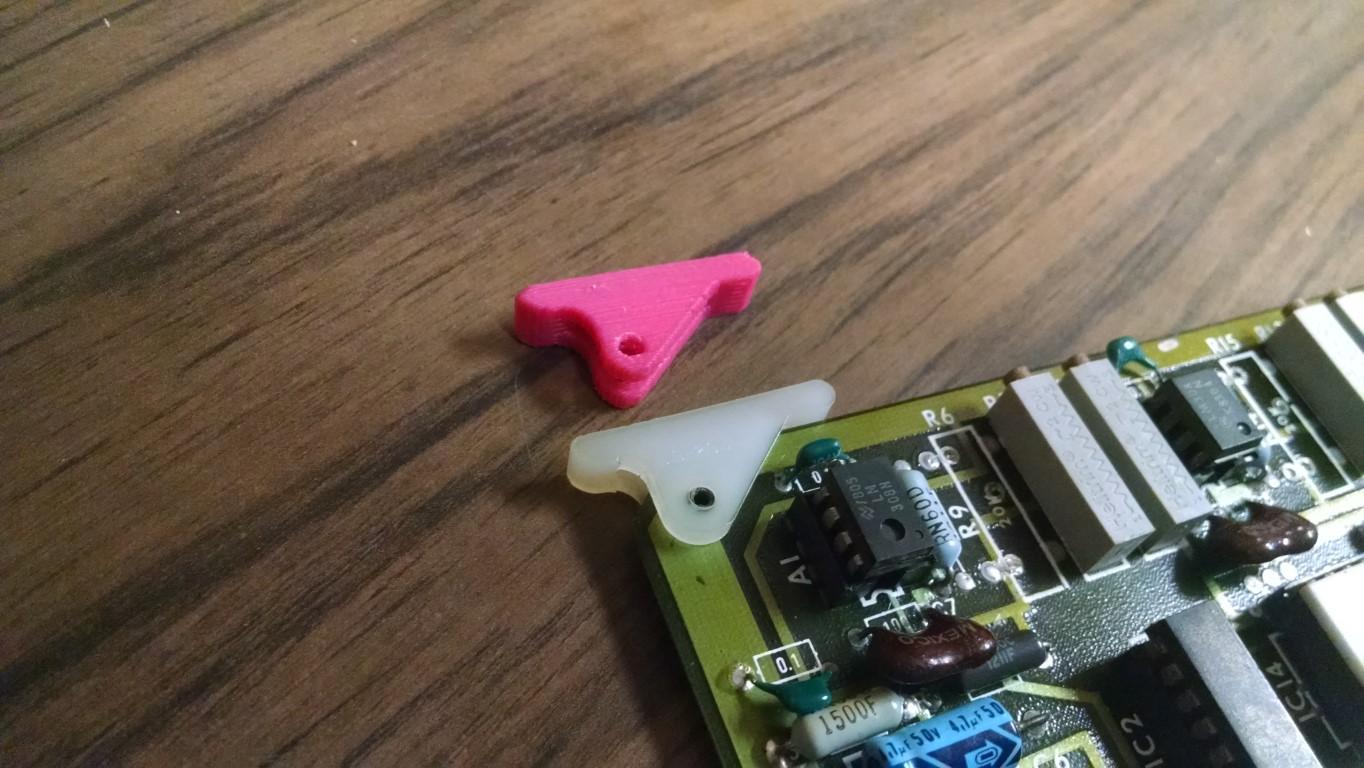
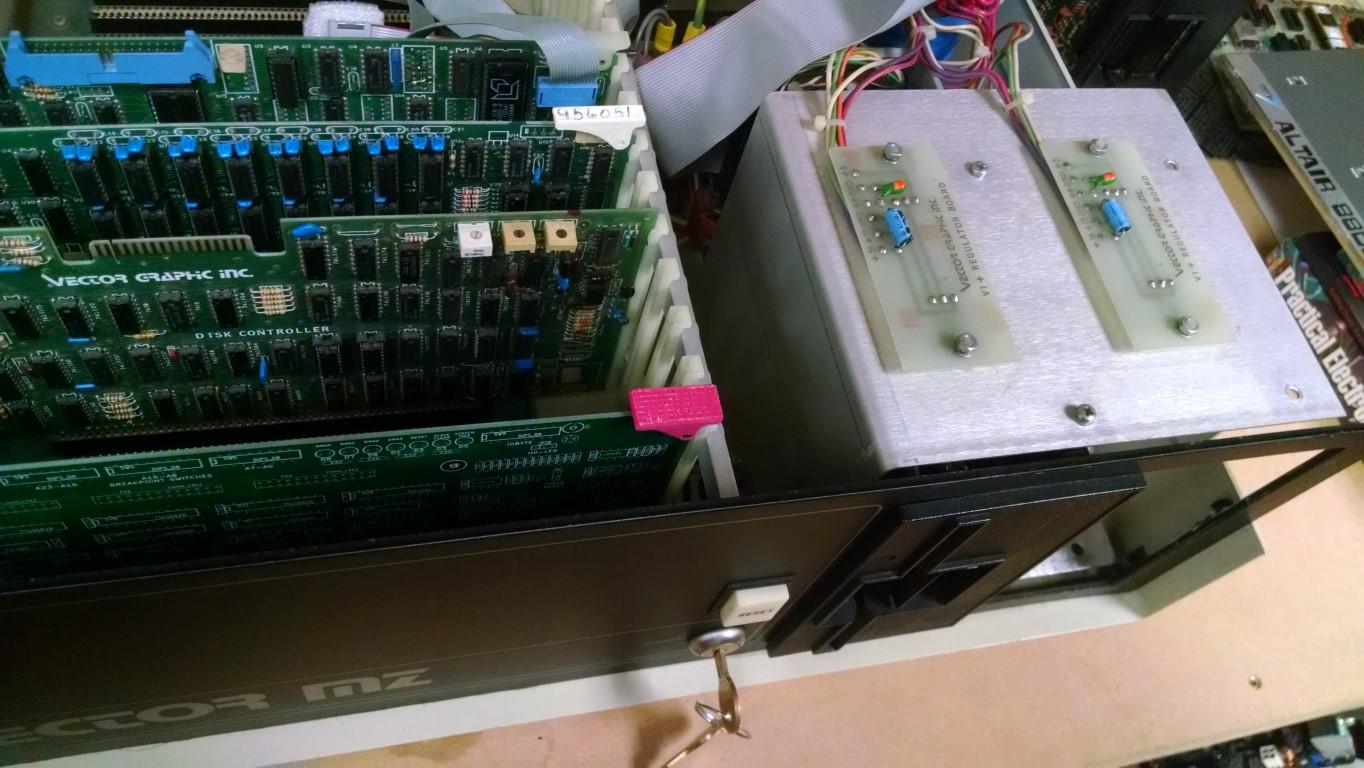
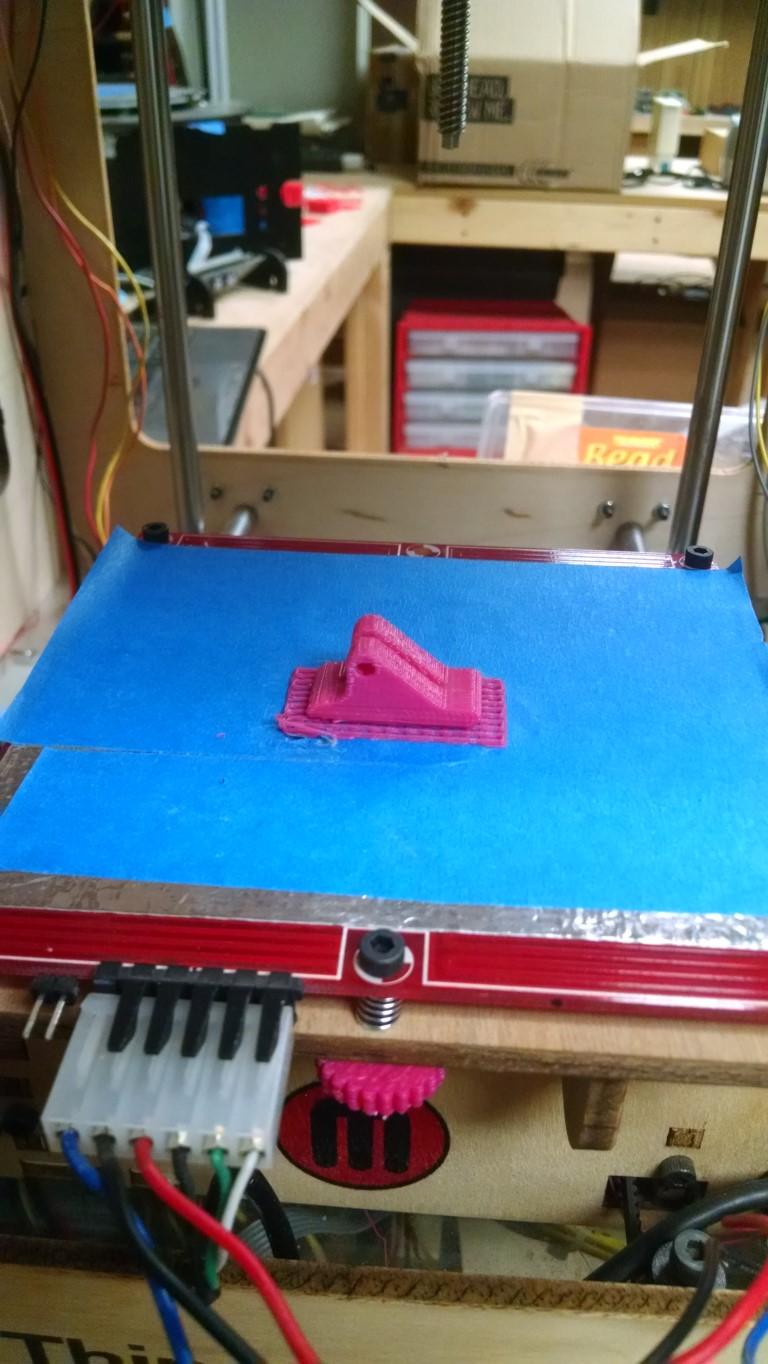
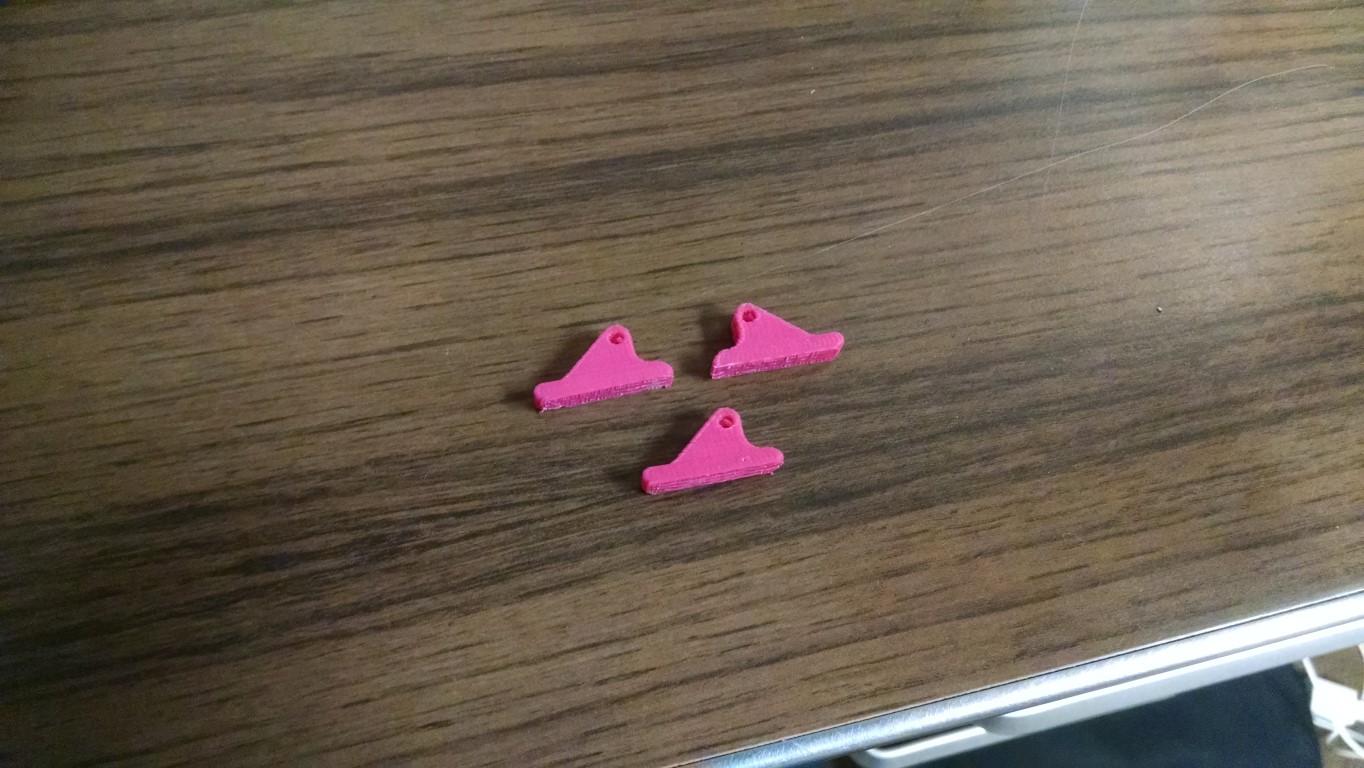
I've recently refurbished the 3D printer at our makerspace and was looking for objects with fine detail (small holes and thin walls) to test it out. I decided to print up some S-100 card ejectors; some pictures are attached.
I initially started with a 1:1 clone of the original geometry (Rev C) but those failed (partly because the fresh N8VEM SMB S-100 card I used to test was a VERY tight fit; I think it needs one or two light passes with a file on either side of the edge connector, comparing it to a vintage card it looked *slightly* oversized). I ended up beefing up the parts on either side of the card by a factor of ~2 (Rev D) which also made the width match the roll pins I was able to get at the hardware store.
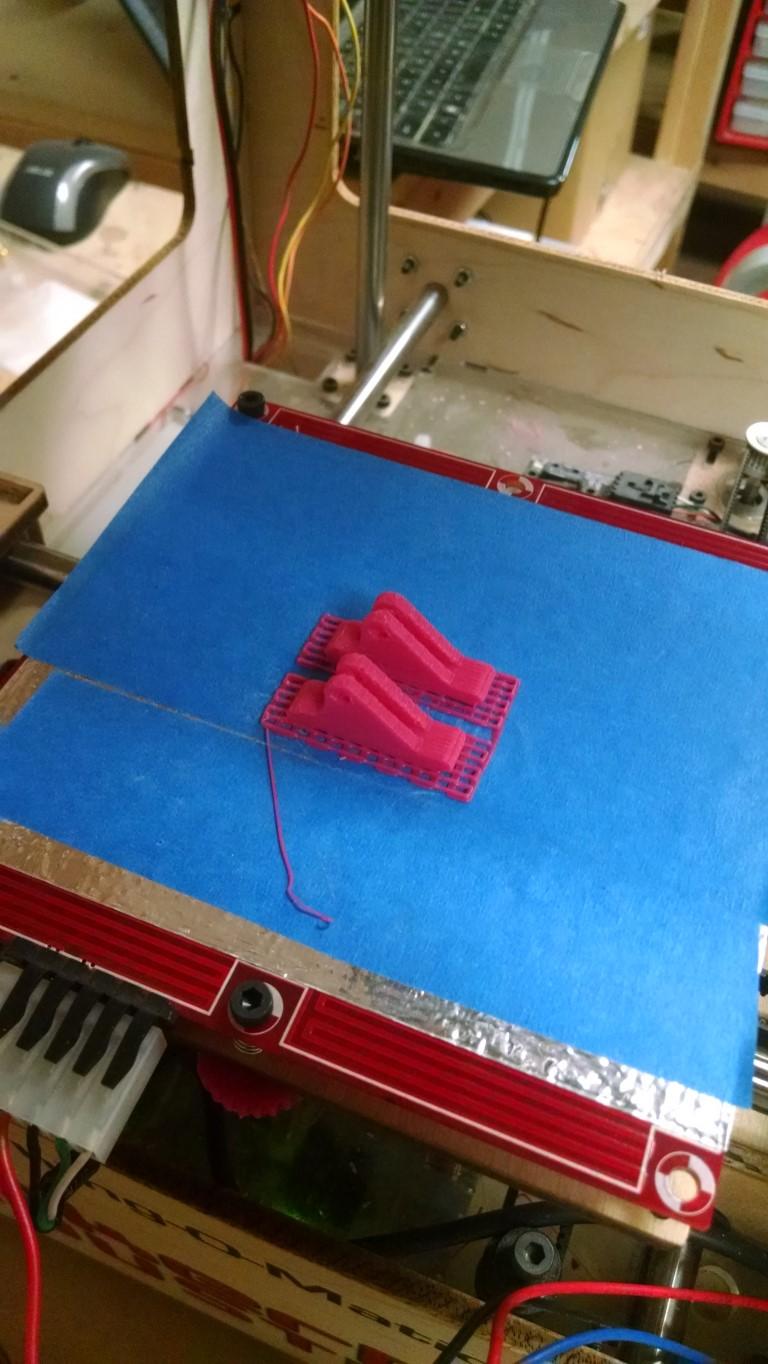
I tested the final version with 10 insertion/removal cycles of the very tight fitting "new" S-100 card. No issues at all. The I think the ones with the "original" thickness might work with the card edge filed down for a more reasonable insertion/removal force. It took about 14 minutes to make 1 ejector and probably 25 minutes for 2, so if it was started while soldering up the card, the ejectors would be done before the card. I think I could fit up to 16 of them on one printer bed if I wanted to make a bunch at a time.
One advantage of this is you could have color-coded ejectors; filament for the printer comes in all colors. It is possible to place the finished part on a rack above some acetone in a jar and the acetone vapors will melt the surface a little bit and make the finished parts smooth.
Andrew